The Problem
When you are working with Substance Designer one of the main goals is to keep your material and textures tileable. Designer offers a lot of tools which keep your tiling intact. But when you rotate a noise or Grunge-Map, you will run into problems.
Designer provides a node which helps you with that as well, it's called Safe Transform, with that node you can easily rotate the input and keep it tiling.
 It works great with angles like 0°, 45°, 90°, 135°, 180°, 225°, 270°, 315°, 360°
What if you want to rotate your input by lets say 26.5651°? It will break the tiling.
The Goal
In this tutorial I'll show you a way to rotate the input by a much larger number of angles and keep the tiling of the texture.
The Method
The method we are using is quite simple and follows these 4 Steps
- Take the unrotated texture and tile it horizontally and vertically multiple times
- Rotate the tiled image
- Find the smallest repeatable piece of the rotated image (This is where a little math comes into play)
- Crop the image into the size of the tileable piece
The Math
Like I already threatened you there is a little math involved here, but don't be afraid, it's very simple geometry. At the end of this section you'll get an easy to use collection of formulas ;-)
Step 1 - Take the unrotated texture and tile it horizontally and vertically multiple times (here the tiling is 7)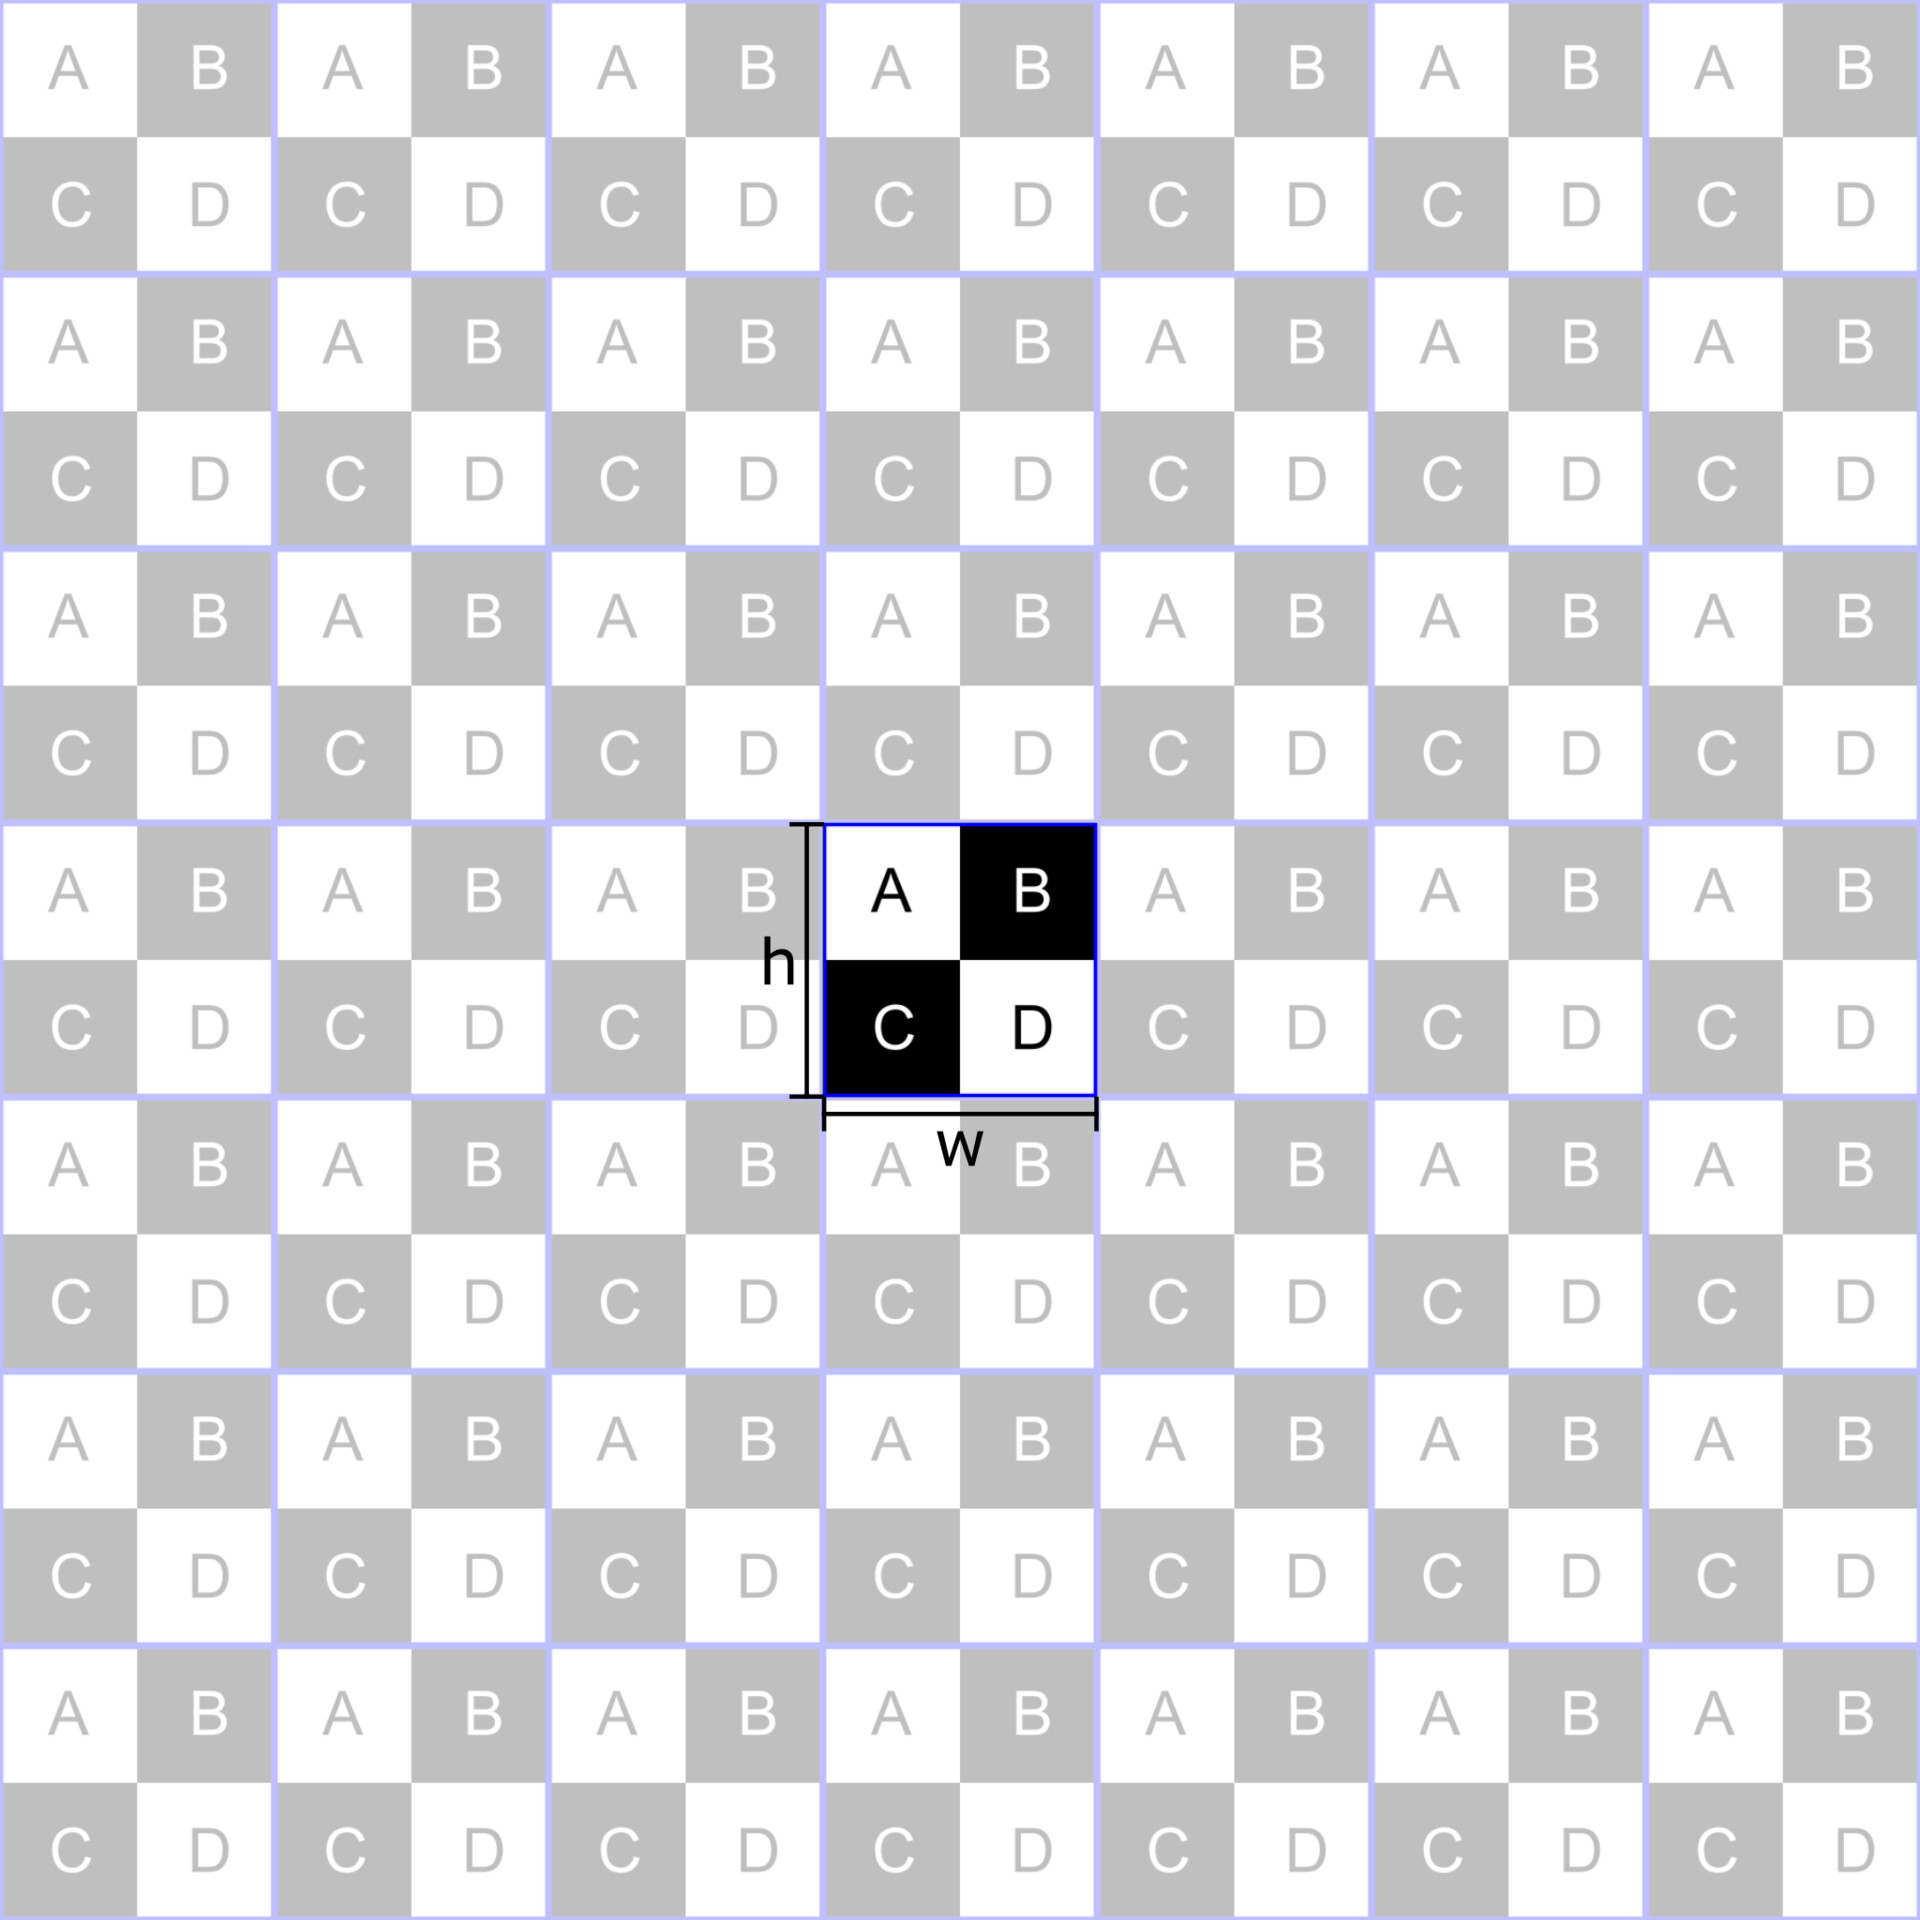
Step 2 - Rotate the tiled image (in this case by 26.5651°)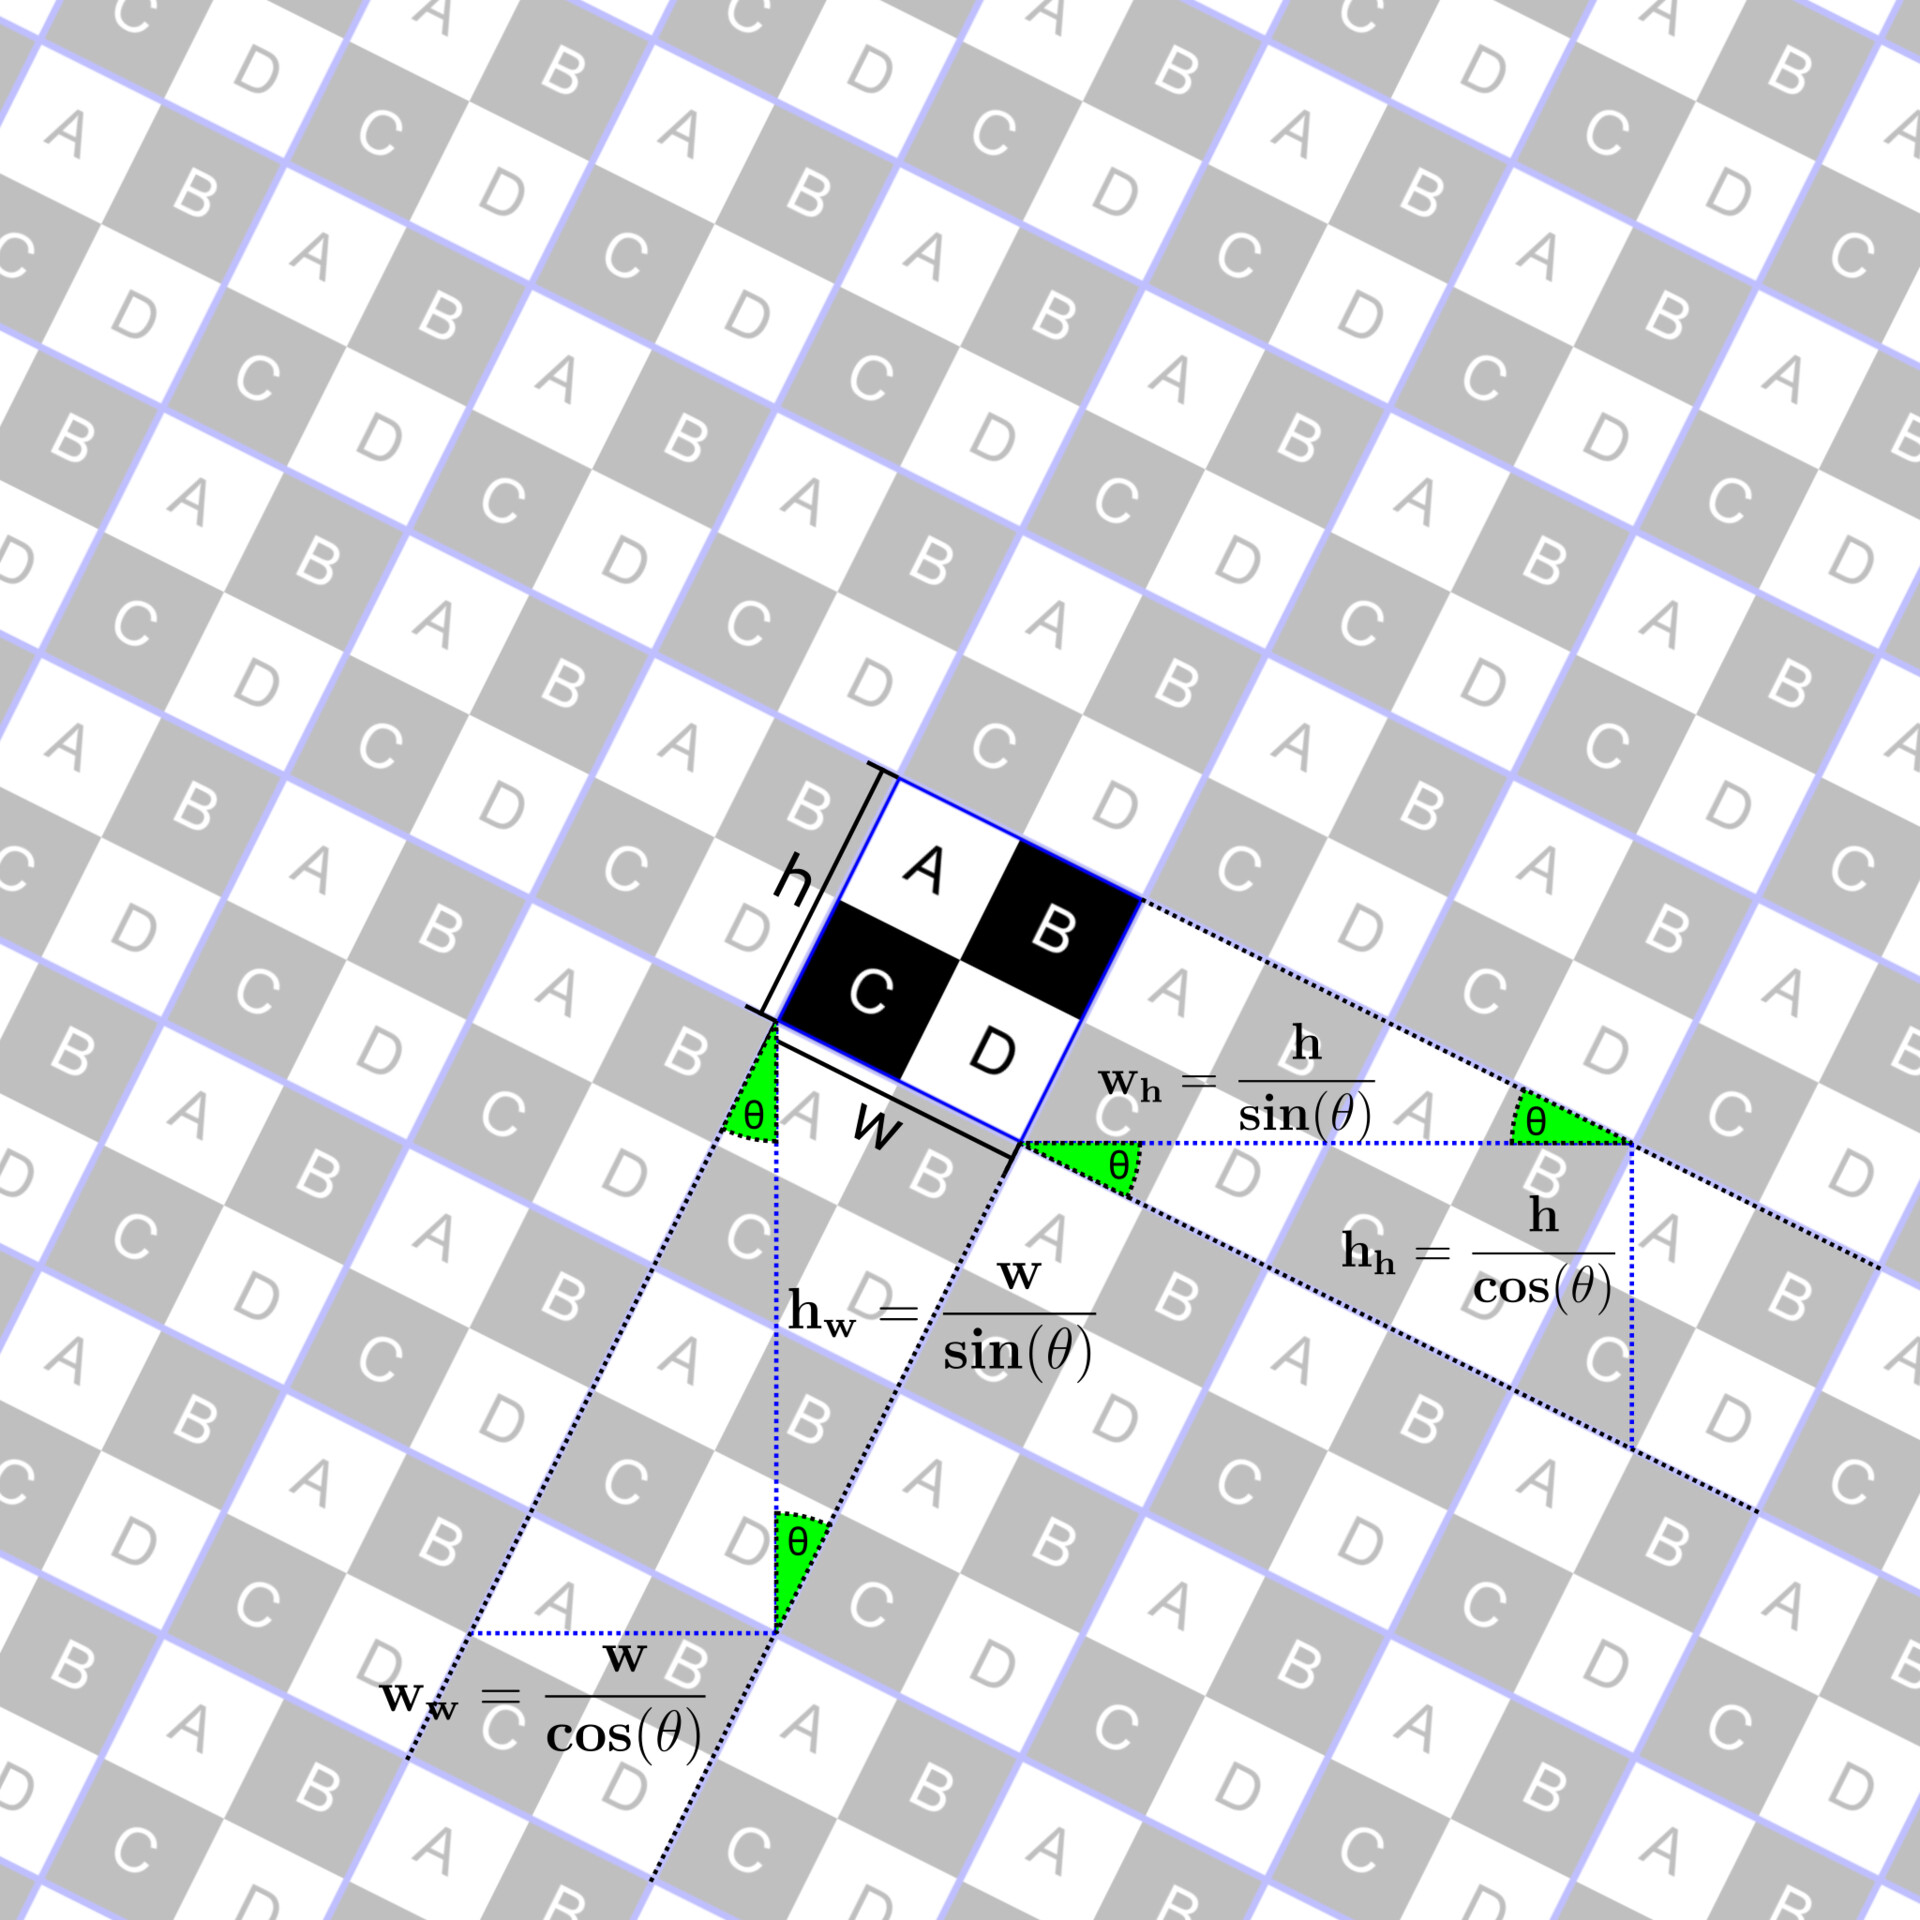
Step 3 - Find the smallest repeatable piece of the rotated image. We calculate h_h, h_w, w_h, w_w with the formulas provided at the end of the section.
We can simplify it a little, since we are working with a square texture we just need to calculate h_h, w_h. When we are done with these calculations we find the reduced fractions that correspond to (h_h / h_w) and (w_h / w_w).
Be careful, if these are not rational, you won't be able to find reduced fractions which make sense, so you will not be able to find a width and height which is tileable.
Here we have to use a little trick, the tangens of the rotation angle should be rational, to achieve this we use a rational fraction to derive the rotation angle. So basically we choose a integer ratio between h_h and w_h before we do all the calculations.
Here are some examples:
Angle        tan
5.71059°     1/10
11.3099°     1/5
14.0362°     1/4
18.4349°     1/3
26.5651°     1/2
33.6901°     2/3
45.0000°     1/1
56.3099°     3/2
63.4349°     2/1
71.5651°     3/1
75.9638°     4/1
84.2894°    10/1
I made a Spreadsheed with a lot of angles with rational fractions, to help you with this. Just open this Google Doc
Step 4: Crop the image into the size of the tileable piece
Formulas

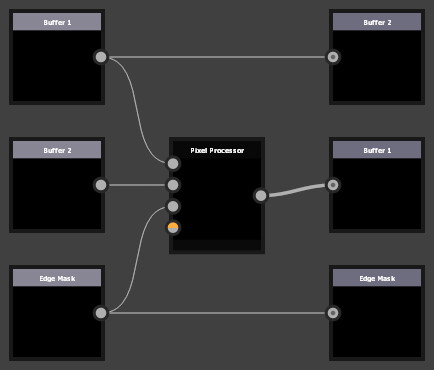
Now you have everything you need to create a rotated tileable texture in Substance Designer but Substance Desinger provides us with the Pixelprocessor, so we are able to create a elegant node, which does this whole math, rotating, cropping, tiling for us.
The Implementation
Here is the full graph inside the Pixelprocessor, I will explain the different sections step by step
First we choose an angle, where the result of the tangens is a "nice" rational fraction, convert this into a Float2 and use the ArcTangent2 - Function to get the angle in radians.
Next we calculate h' and w' which is the scalefactor for the texture at that angle, for this we multiply h_w and w_w by the reduced fraction of our input angle.
Then we calculate the rotation at this angle and multiply the result by the scale-factor from the previous step.
This gives us the correct scaling and rotation of the texture, so we use this Float2 as sampling position.
I hope you enjoyed this short tutorial on how to tilesafe rotate a texture in Substance Designer. If you want to look into the .sbs or just use this tool, you can download the finished node from my from a google drive here.
Stay healthy and creative
Marco